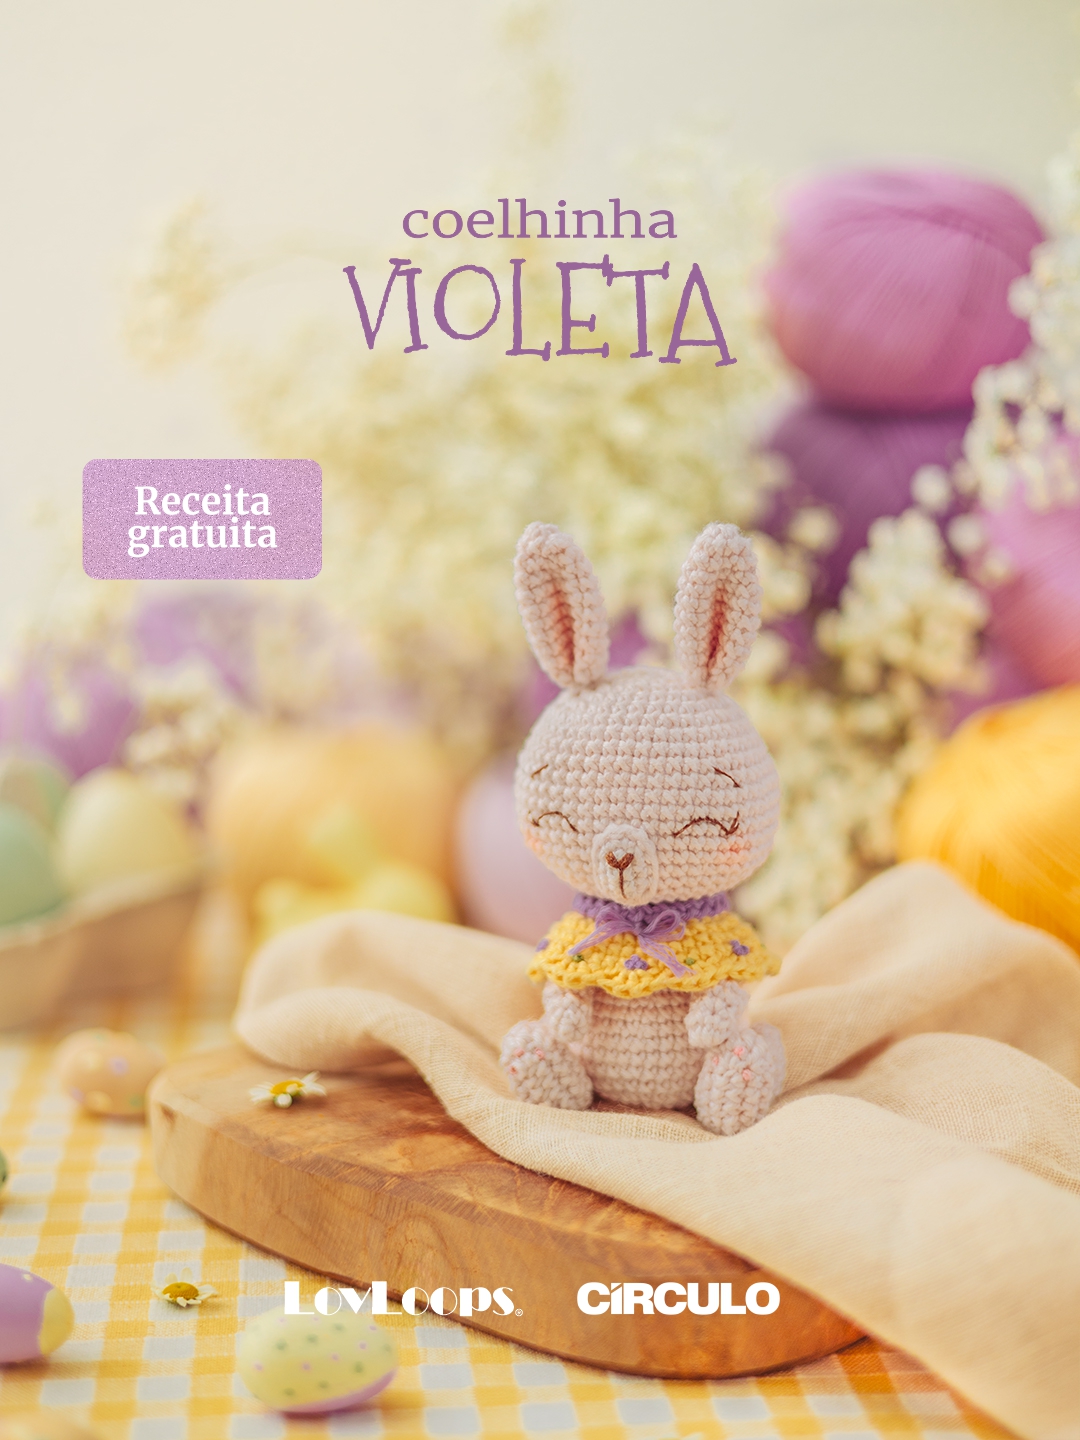
Violet, the bunny - LovLoops
MATERIAIS
- Círculo Amigurumi yarn in colors:
- Gardenia #3061;
- Royalty #6034;
- Solar #1317.
- Embroidery thread Maxi Mouliné in colors:
- Dark Brown #880 (for face details);
- Lilac #441 (for poncho details);
- Medium Green #717 (for poncho details);
- Salmon #208 (for paws details).
- 2.0 mm Crochet hook.
- Embroidery needles (Tapestry no. 22, Crewel no. 9, and Milliner no. 5).
- Fiberfill.
- Stitch markers.
- Sewing pins.
- Scissors.
- Pliers.
- Blush (for cheeks and ears - optional).
EXECUÇÃO
ABBREVIATIONS (US Terms)
- BLO: back loops only.
- Ch: chain stitch.
- Dc: double crochet.
- Dec: single crochet decrease (two sc closed together).
- Hdc: half double crochet.
- Inc: single crochet increase (two sc into the same stitch).
- Rnd: round(s).
- Sc: single crochet.
- Slst: slip stitch crochet.
- St: stitch(es).
- [...] x n: repeat the instructions, within brackets, n times.
- *…*: make all stitches, within asterisks, into the same base stitch.
- (...): total number of stitches in a round.
SIZE
- Using Círculo Amigurumi yarn, 2.0 mm crochet hook, and X single crochet, your bunny Violet will be approx. 5.12 in (13 cm) tall.
SKILL LEVEL
- Beginner-intermediate.
Crocheting Instructions
HEAD
In color Gardenia (#3061).
Rnd. 1: work 6 sc in a magic ring (6).
Rnd. 2: 6 inc (12).
Rnd. 3: [1 sc, 1 inc, 1 sc, 3 inc] x 2 (20).
Rnd. 4: 3 sc, [1 sc, 1 inc] x 3, 4 sc, [1 sc, 1 inc] x 3, 1 sc (26).
Rnd. 5: 3 sc, [1 sc, 1 inc, 1 sc] x 3, 4 sc, [1 sc, 1 inc, 1 sc] x 3, 1 sc (32).
Rnd. 6: [3 sc, 1 inc, 3 sc, 1 inc, 2 sc, 1 inc, 3 sc, 1 inc, 1 sc] x 2 (40).
Rnd. 7–9 (3 ROUNDS): 40 sc (40).
Rnd. 10: 7 sc, [1 inc, 1 sc] x 2, [1 sc, 1 inc] x 2, 12 sc, [1 inc, 1 sc] x 2, [1 sc, 1 inc] x 2, 5 sc (48).
Rnd. 11–15 (5 ROUNDS): 48 sc (48).
Rnd. 16: 7 sc, 1 dec, 8 sc, 1 dec, 4 sc, [8 sc, 1 dec] x 2, 5 sc (44).
Rnd. 17: 9 sc, 1 dec, 2 sc, 1 dec, 16 sc, 1 dec, 2 sc, 1 dec, 7 sc (40).
Rnd. 18: [3 sc, 1 dec, 12 sc, 1 dec, 1 sc] x 2 (36).
Rnd. 19: 7 sc, 1 dec, 2 sc, 1 dec, 12 sc, 1 dec, 2 sc, 1 dec, 5 sc (32).
Rnd. 20: [1 sc, 1 dec, 1 sc] x 8 (24).
Stuff the head with fiberfill. To keep the head nicely shaped, make sure to maintain its elliptical form while stuffing.
Rnd. 21: [1 sc, 1 dec] x 8 (16).
Rnd. 22: 8 dec (8).
Add more stuffing if needed. Fasten off, leaving a yarn tail. Using a tapestry needle, weave the yarn tail through the front loop of each remaining stitch and pull tight to close. Weave in the yarn end.
BODY
In color Gardenia (#3061).
Rnd. 1: work 7 sc in a magic ring (7).
Rnd. 2: 7 inc (14).
Rnd. 3: [1 sc, 1 inc] x 7 (21).
Rnd. 4: [1 sc, 1 inc, 1 sc] x 7 (28).
Rnd. 5: [3 sc, 1 inc] x 7 (35).
Rnd. 6: 35 sc (35).
Rnd. 7: [3 sc, 1 inc, 3 sc] x 5 (40).
Rnd. 8–9 (2 ROUNDS): 40 sc (40).
Rnd. 10: [3 sc, 1 dec, 3 sc] x 5 (35).
Rnd. 11: 35 sc (35).
Rnd. 12: [5 sc, 1 dec] x 5 (30).
Rnd. 13: 30 sc (30).
Rnd. 14: [2 sc, 1 dec, 2 sc] x 5 (25).
Rnd. 15: 25 sc (25).
Rnd. 16: [3 sc, 1 dec] x 5 (20).
Rnd. 17–18 (2 ROUNDS): 20 sc (20).
Invisible fasten off, leaving a long yarn tail for sewing. Stuff the body firmly with fiberfill.
EARS (MAKE 2)
In color Gardenia (#3061).
Rnd. 1: work 6 sc in a magic ring (6).
Rnd. 2: [1 sc, 1 inc] x 3 (9).
Rnd. 3: [1 sc, 1 inc, 1 sc] x 3 (12).
Rnd. 4: 12 sc (12).
Rnd. 5: [3 sc, 1 inc] x 3 (15).
Rnd. 6–10 (5 ROUNDS): 15 sc (15).
Rnd. 11: [1 sc, 1 dec] x 5 (10).
Fasten off, leaving a long tail for sewing. The ears don’t need to be stuffed.
LEGS (MAKE 2)
In color Gardenia (#3061).
Ch 6. Stitches are worked around both sides of the foundation chain.
Rnd. 1: start in the second ch from the hook, 4 sc, 3 sc into the last st. Continue on the other side of the foundation chain, 3 sc, 1 inc (12).
Rnd. 2: 1 inc, 3 sc, *1 sc, 1 hdc*, 2 dc into the next st, *1 hdc, 1 sc*, 3 sc, 2 inc (18).
Rnd. 3: 6 sc, 4 hdc, 8 sc (18).
- Rnd. 4: 2 sc, 6 dec, 4 sc (12).
- Rnd. 5: 3 sc, 2 dec, 5 sc (10).
- Rnd. 6: 3 sc, 1 dec, 5 sc (9).
- Rnd. 7: 2 sc, 3 inc, 4 sc (12).
Stuff the foot firmly with fiberfill up to Rnd. 6. To keep the foot nicely shaped, make sure to maintain its elliptical form while stuffing. The rest of the piece will remain unstuffed.
Rnd. 8: 3 sc, 1 inc, 2 sc, 1 inc, 5 sc (14).
Rnd. 9–10 (2 ROUNDS): 14 sc (14).
Rnd. 11: 7 dec (7).
Fasten off, leaving a long yarn tail for sewing. There is no need to add stuffing to the thigh.
Locate the central increase of Rnd. 7 and, from this point, flatten the thigh, shaping it into a shell-like form. This shape will ensure that the leg fits perfectly on the side of the body when sewing. With the thigh flattened and using a tapestry needle, weave the yarn tail through the front loop of each remaining stitch and pull tight to close the opening. Then, weave the remaining yarn through the leg, bringing it out at the side of the thigh, between Rnd. 7 and 8, where it will later be used for sewing.
ARMS (MAKE 2)
In color Gardenia (#3061).
Rnd. 1: work 6 sc in a magic ring (6).
Rnd. 2: 6 sc (6).
Rnd. 3: [1 sc, 1 inc] x 3 (9).
Rnd. 4–5 (2 ROUNDS): 9 sc (9).
Rnd. 6: [1 sc, 1 dec] x 3 (6).
Rnd. 7: 6 sc (6).
Lightly stuff the arm with fiberfill up to Rnd. 5. Flatten the arm opening so that the stitches line up.
Rnd. 8: sc in next 3 st through both layers to close the opening.
Fasten off, leaving a yarn tail for sewing.
SNOUT
In color Gardenia (#3061).
Ch 4. Stitches are worked around both sides of the foundation chain.
Rnd. 1: start in the second ch from the hook, 2 sc, 3 sc into the last st. Continue on the other side of the foundation chain, 1 sc, 1 inc (8).
Rnd. 2: 1 inc, 1 sc, 3 inc, 1 sc, 2 inc (14).
Invisible fasten off, leaving a long tail for sewing.
TAIL
In color Gardenia (#3061).
Rnd. 1: work 6 sc in a magic ring (6).
Rnd. 2: 6 inc (12).
Rnd. 3: [2 sc, 1 dec] x 3 (9).
Invisible fasten off, leaving a yarn tail for sewing.
PONCHO
Start in color Royalty (#6034).
Ch 27. Ensure the chain isn't twisted, then insert the hook into the first ch. Join the foundation chains with 1 slst to form a ring. Continue working in a spiral.
Rnd. 1: 27 slst (27).
Change to color Solar (#1317).
Rnd. 2: 27 BLO-sc (27).
Rnd. 3: [1 sc, 1 inc, 1 sc] x 9 (36).
Rnd. 4: [1 inc, 3 sc] x 9 (45).
Rnd. 5: 45 sc (45).
Rnd. 6: [1 slst, skip next st, make 3 hdc into next st, skip next st] x 11, 1 slst (45).
Invisible fasten off and weave in the yarn end.
PONCHO COLLAR
With the ruffled edge of the poncho facing you, pull up a loop of Royalty (#6034) through the last remaining front loop of Rnd. 2 and make ch 1. From this point on, continue working clockwise around with [1 slst, ch 1] x 27. Invisible fasten off and weave in the yarn end.
Note: When working clockwise, you will move in the opposite direction of the previous spiral rounds, working across Rnd. 2 from end to beginning.
ASSEMBLING AND FINISHING TOUCHES
Sew the snout to the head
Using sewing pins, center the snout on the head, on the opposite side of the start of the rounds, over Rnd. 13 and 17. With a tapestry needle, sew it firmly in place. Before closing the seam, stuff the snout with fiberfill.
Sew the ears to the top of the head
Before sewing the ears to the head, flatten the piece and then fold it in half. Using a tapestry needle, secure the two sides together with a tight stitch. Using sewing pins, position the ears on the top of the head, between Rnd. 3 and 5. With a tapestry needle, sew firmly in place.
Make the face, paws, and poncho details
- Snout: using a crewel needle and 2 strands of brown embroidery thread (Maxi Mouliné #880), embroider the nose at the center of the snout.
- Eyes and eyelashes: using a crewel needle and 2 strands of brown embroidery thread (Maxi Mouliné #880), embroider the eyes and eyelashes over Rnd. 12 and 13. Each eye should be approx. 4 st in width and just over 1 round in height, leaving 6 st of distance between them, and placed 1 st away from the snout.
- Eyebrows: using a crewel needle and 2 strands of brown embroidery thread (Maxi Mouliné #880), embroider the eyebrows over Rnd. 10. Each eyebrow should be approx. 2 st in width and 1 round in height, keeping approx. 12 st apart.
- Cheeks and ears: If you wish, apply blush to the cheeks and inside the ears.
- Paws: using a milliner needle and 6 strands of salmon embroidery thread (Maxi Mouliné #208), embroider the paw details by making three French knots, with two wraps each, between Rnd. 1 and 2 of each leg, keeping approx. 1 st apart. When the bunny is seated, the three French knots should be positioned in the upper third of the paw.
- Poncho details: using a milliner needle and 6 strands of medium green embroidery thread (Maxi Mouliné #717) and lilac (Maxi Mouliné #441), embroider French knots, with two wraps each, between Rnd. 5 and 6 of the poncho, placing them at the center of each ruffle, following a fixed sequence: one green knot at the center of one ruffle and, on the next ruffle, a group of 3 lilac knots. Repeat this sequence around.
Note: The number of ruffles is odd; therefore, two knots will end up in the same color consecutively. Begin with the first ruffle so that this repeated color is positioned at the back of the poncho.
- Poncho bow: cut a piece of approximately 5 cm of lilac embroidery thread (Maxi Mouliné #441). Without separating the strands, using a tapestry needle, attach the thread through 1 st at the center of the poncho, between Rnd. 1 and 2. Tie a small bow and trim the excess thread.
Sew the body to the head
Fit the poncho onto the body, with the lilac section facing upward near the body opening and the ruffles facing downward. Using sewing pins, center the body below the head. Using a tapestry needle, sew it firmly in place. If necessary, stuff the body with more fiberfill before closing the seam.
Note: After fitting the poncho onto the body, secure it with sewing pins to prevent it from shifting during sewing. Due to the volume of the poncho, this sewing step may require a bit more care and patience.
Sew the tail to the back
Using sewing pins, position the tail at the center back of the body, between Rnd. 4 and 7. With a tapestry needle, sew it firmly in place. If necessary, stuff the tail with fiberfill before closing the seam.
Sew the legs and arms to the sides of the body
- Legs: using sewing pins, position the legs on the sides of the body, between Rnd. 6 and 9, keeping approx. 12 st between them, counted along the back of Rnd. 8, and approx. 4 st away from the tail. The feet should be facing forward in a sitting position. With a tapestry needle, sew the back of the leg firmly.
- Note: Before sewing, ensure the piece stays balanced while sitting without support. Adjust the position of the legs, if necessary, to ensure balance.
- Arms: using sewing pins, position the arms slightly diagonally on both sides of the body, over Rnd. 13 and 15, keeping approx. 12 st between them, counted along the back of Rnd. 13. The arms should be facing forward, between the legs. With a tapestry needle, sew firmly.
YOUR BUNNY VIOLET IS READY!
Designer: Jennifer - LovLoops